Wednesday 26 November 2014

A CAS Christmas card

My goodness, I'm getting brave! I've chosen to make a CAS card when it isn't for a CAS type challenge!

I love the combination of silver and purple at Christmas, so I dug out some purple Core-dinations cardstock out of a long-forgotten stack and embossed it in the Grand Calibur with a Die-sire folder that came free with some magazine or other, then sanded it and matted it with silver. Then I added a sentiment which was the very last one on a sheet I've had for several years, a snowflake made with a die that came free with Docrafts magazine some months ago and Candi from my stash. It's worked pretty well for a card made out of next to nothing! I think it would make a good masculine card - I'd use a rather lighter, lilacy purple for a woman.


I'm sharing this with

Completely Christmas Challenge - Let's see some embossing
Clear it out challenge- Winter Wishes/Snowflake
Cuttlebug Challenge (my first visit) - a Snowflake and a sentiment
Crafty Creations Challenges - Embossing

Bringing Home the Mistletoe

If you want to b e kissed at Christmas, it's essential to have mistletoe isn't it? And these young ladies and their little dog have obviously been out to get some in readiness for decorating their home. I hope their mother didn't get too cross with them for climbing a tree to get it! The images and papers are from Joanna Sheen's Victorian Christmas CD


I'm joining in with

Crafty Hazelnut's Christmas Challenge - Getting Ready For Christmas
Ooh La La creations - Christmas

The Streets of London

The X-Cut London Build-a-Scene set is one of my most often used sets of dies. I really wish they would make them of other iconic skylines! Here I've just used one of the layers, with a Routmaster bus (I can't use the word "iconic" again so soon, can I?) to give a splash of colour.


Now I've added the photo, I can see the Big ben tower is leaning slightly to one side. Sorry about that!

This is my second "Black and White with a splash of Red" card for Make My Monday.

A Thank You card

This week, Addicted to Clean and Simple are celebrating their second birthday, and the challenge is a sketch.

I thought about making them a birthday card, but then I decided a Thank You card would be even better - thank you for all the great challenges, which have set me thinking even in fortnights when I haven't actually joined in. So here it is, a Thank You card for ATCAS


The sparkly effect on the heart is achieved by foiling a die-cut heart cut from deeply textured card with adhesive film covering it, and foiled with perfectly smooth red foil from FoilPlay. The foil picks up the texture of the card to give it a lovely sparkle finish, more subtle than using a glittered card. I'll bear that in mind for a masculine Valentines card in the spring!

Although I have another "Black and white with a splash of red" card coming along later, I'm also sharing this card with Make My Monday where that colour scheme is this week's challenge, and as this is a Thank You card I'm making my first ever visit to The Crafters Café where Thank You is the current challenge.

Tuesday 25 November 2014

Aged to Perfection

This week at Cardz 4 Guyz we want to see your Food or Drink themed cards - and as always, they need to be suitable for a male.

I'm sure lots of you will be thinking of Christmas feasting by now, but I thought I'd take the opportunity to use some of the lovely stamps that came with a recent issue of "Creative Stamping" magazine.

The base card is made from kraft card with the vine corner from the stamp sheet stamped in Versamark ink. The banner and words are also from the stamp sheet, and I used foam pads to keep it slightly raised from the main image. For this, I cut and embossed cream and purple card using Spellbinders "Labels eighteen" and very lightly sponged through the die onto the cream card using Antique Linen distress ink, before stamping and colouring the design.


I'm sharing this card with:

Allsorts Challenge blog - No design papers allowed
The Pink Elephant - Anything Goes
That Craft Place - Anything Goes

Monday 24 November 2014

Parting with an old favourite

When I bought this Hot Off The Press Christmas pad, probably a decade ago, a friend asked me if I'd used any of it and my answer was "Of course not, I haven't finished stroking it yet!". I'm sure you all know exactly what I mean, sometimes papers seem just too good to cut into. But cut into them I eventually did, and the pad that started off with around 150 sheets is now down to about a dozen uncut sheets and a large bundle of snippets. There are still a few of the printed acetate sentiments left, and I've combined one of those, mounted on white card, with a selection of the snippets and (shock, horror) one of the uncut sheets for the background.


I've used this week's sketch at Sketch Saturdays for the layout. I think the simple block design and the muted colours of paper give it a very masculine feel even though one of the papers is a chintz design.


All those snippets mean I'm playing at the Snippets Playground too (oh Blogger, why have you suddenly changed my font in the middle of a post?)  and with so much patterned paper, I'm also heading over to Crafty Hazelnut's Patterned Paper challenge
This week's challenge at Winter Wonderland is Let's Get Sentimental and at Ooh La La Creations it is Christmas  so I'm playing there too.

Jingle all the way

Last Christmas I got a pack of little tiny real bells, then couldn't think what to use them for, so they sprang to mind when I read that this week's challenge at Less is More is "Jingle all the way"

I did kick myself a bit though - the holes on the bells for threading the silver thread through are TINY, and I'm very short sighted and astigmatic. I ended up taking my specs off and holding each bell up to one eye with the other closed. Now you know why I seldom do any embroidery any more - threading a needle is nigh on impossible for me.

When things don't go according to plan

Hello again - I've got my new computer up and running and have lots of blogging to catch up on! And I'm going to start off with a card that simply would NOT go according to plan. The current Butterfly Challenge is "Paper Pieced Butterflies" and I decided to use this lovely big Monarch Butterfly stamp that I got from the USA many year ago. In my mind, it looked lovely, stamped onto three papers, cut out and pieced, and framed with swirls of black peel-offs that have been sitting in my stash for years.

I tamped it first onto a green patterned paper, then onto an orange/yellow/brown paper then onto one in shades of red, cutting out segments of the wing markings from the redder paper to piece onto the orange/yellow/brown one and piecing this onto the green background.  It looked fine as I was doing it, but now the card is finished, I don't think there is enough contrast between the two papers I've used for the butterfly.

Then on to the peel offs. Talk about a mind of their own! They seemed to be riddled with static electricity, and however much I tried to relax them, to hold them with two tools and to position them carefully, they went where THEY wanted to, and despite being called peel-offs, stuck resolutely to their chosen places and pulled the background paper off with them if I tried to move them. So my swirls are all over the place, and puckered in places too. Because that's how they insisted on placing  themselves! I did my best to cover the worst with some flowers, but I'm still not thrilled with the result. It's "not bad" but it's absolutely nothing like what I'd had in mind when I set out to make this!

Thursday 20 November 2014

The Great British Cookbook

Right about now, Mark and I will be arriving at Nottingham Castle for the launch party of a new e-book, The Great British Cookbook. Why will we be at the launch party? Well, we wrote one of the chapters of the book!

A few months ago we were invited to join in, initially just to contribute a few paragraphs. But our contribution grew, so enthusiastic were we, until we had produced a whole chapter, beautifully illustrated with a selection of Mark's photos. In fact one of his photos has made it to the front cover! If you are a reader of his blog, you'll probably recognise his style - that beautiful display of veg near the  bottom of the left hand column.


In our chapter, Mark concentrates on growing veg, of course, while my part is aimed at those who don't grow their own veg but would like to shop and cook seasonally and use the best of British produce. The rest of the book is crammed with recipes from top chefs  and food celebrities including many well known names like Rick Stein, Michael Caines, Sat Baines and Adam Simmonds, as well as chefs from top restaurants in every region of the country - in all, 200 chefs have contributed. There will also be profiles of some of Britain's great food producers, growers, suppliers and retailers.

We're very excited about having taken part in this project, especially as the aim of the book is to raise funds for two very deserving charities, Macmillan Cancer Support and Hospitality Action. You can read more about the book on the Great British Cookbook website where you can buy the book as a download for just £12.00. I believe it will also be available from Amazon, The Apple App Store and Google Play Store. Buying it is your chance to make a charity donation to two deserving causes AND get a fantastic recipe book in exchange for it! They are hoping to raise £200,000 by Christmas, and it would be wonderful to know that some of my blog readers contributed to that total!

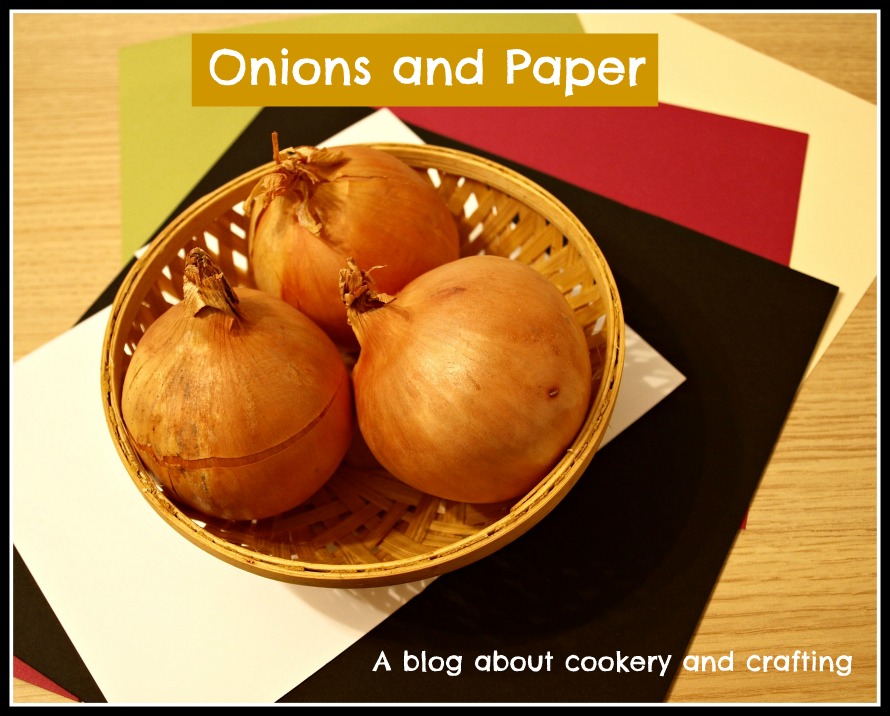
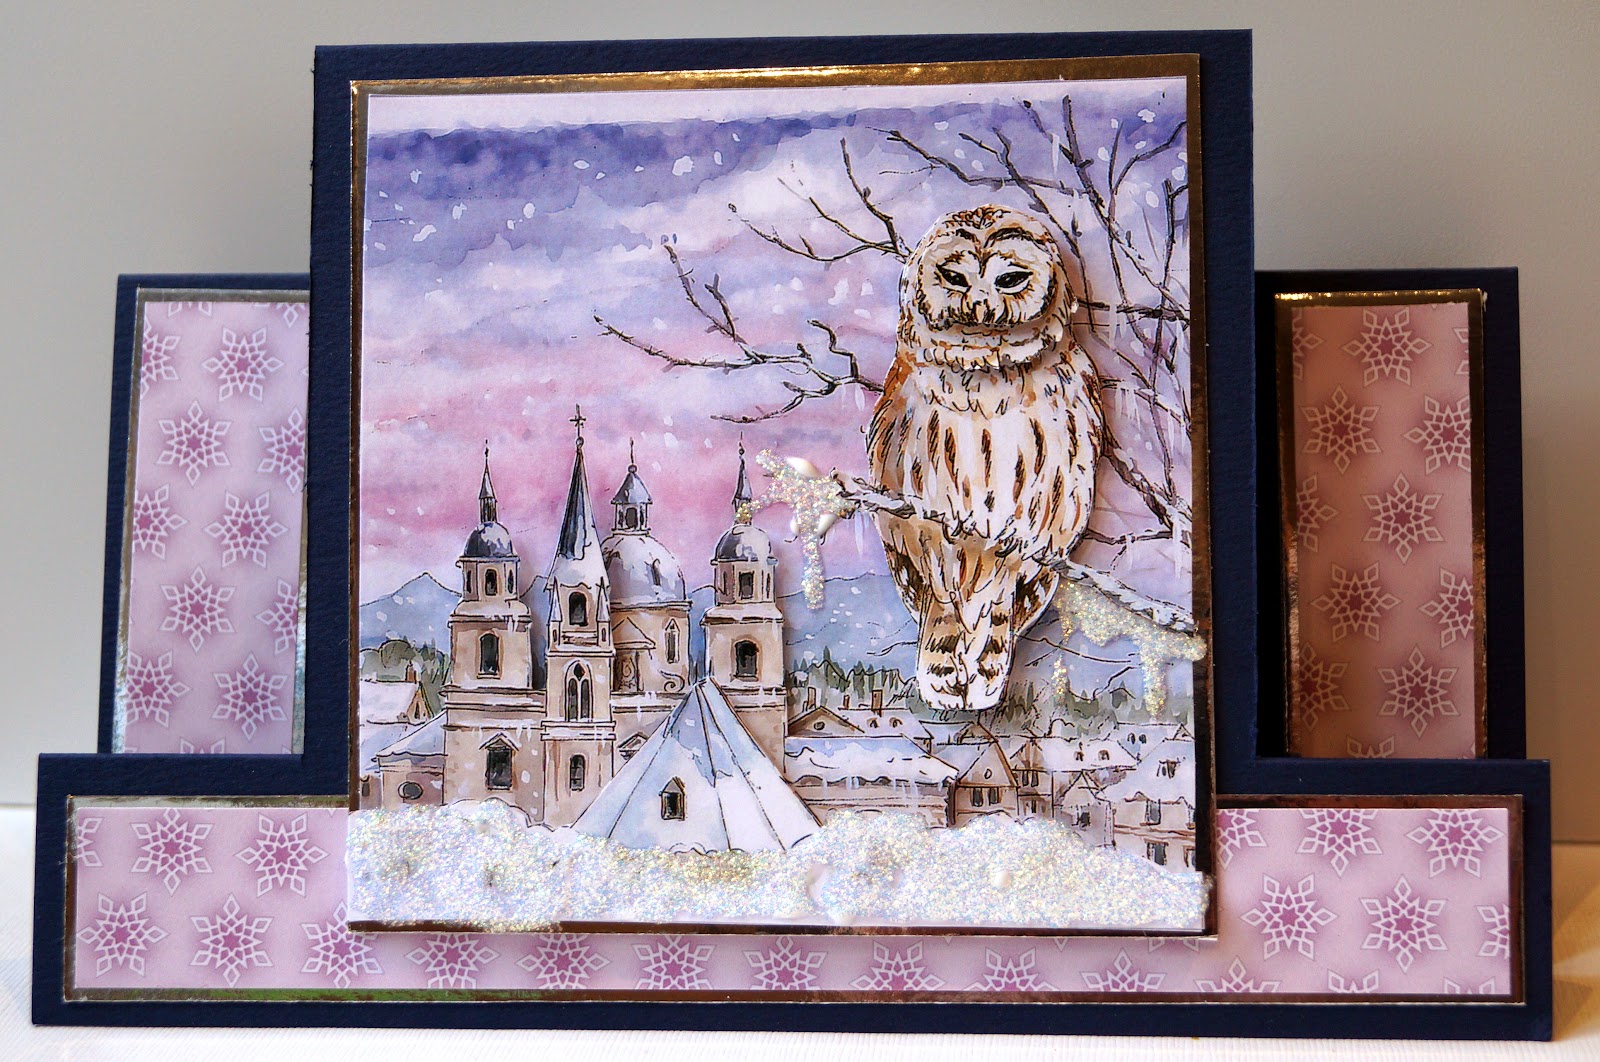
I'll sign off for today with one of the out-takes from our photo session for the book....

Tuesday 18 November 2014

Christmas Stocking

This week at Cardz 4 Guyz  the theme is "Christmas Stocking"  - we'd love to see you join in! And don't forget that your card has to be suitable for a male, young or old.

I've used this super image from one of the topper sheets on the La Pashe CD "Christmas with the Wrinklies", along with background paper from the same CD. I made a fold-back card, adding die cut circles to the inside of the card to give somewhere to write. TIP: to line up the circles on the inside, so they were perfectly aligned with the topper when the card is closed, I applied adhesive to the back and then laid them FACE DOWN over the back of the front of the card, with the card open, then closed the card from the back.


I'm joining in for the first time at Fan-Tastic Tuesday where the theme is "Anything goes with a twist - Make it Male"
and also with Crafty Hazelnut's Christmas Challenge Extra - November

Monday 17 November 2014

In the jungle

I made this card using a jungle themed stamp set from Woodware and a philodendron leaf punch, which I think is also a Woodware one. I punched the leaves from an assortment of shades of green card, adding veins with a white gel pen.

To make the card, I cut a 6" x 12" piece of white card and scored it at 2", 4", 8" and 12", then folded the sides back and out, rather like a back to  front gatefold card. I stamped and embossed the frogs and lizard on the centre panel then stamped leaves all around to cover the white space - the idea is to have them peeping out from the undergrowth rather than being a major feature of the card. Then I used a dimensional adhesive to stick the leaves down the sides of the cards and rear flaps, taking care not to let any overhang at the top or bottom of the card. This way the card will still stand, and will fit in a 6" square envelope.

Finally I stamped, embossed and coloured  another frog and the butterflies and dragonflies, adding lots of glitter to the dragonfly wings. While I was cutting them out, I wondered to myself why so many crafty representations of dragonflies include long antennae? Dragonflies don't have long antennae, those eye-like bulges on their heads are the antennae. So these must be the rare double-antennaed jungle dragonfly!


folded flat (ish) for posting
 
I am sharing this with the following challenges:
Make My Monday - Glitter
Craft Room Challenge - Anything 3D
Addicted to Stamps and More - Anything Goes
Ooh La la creations challenge - More than one fold

Sunday 16 November 2014

P is for......

PICNIC! Although it could also be for pink, pretty or pastel. This cute teddy bears picnic card was made with decoupage and papers from the new La Pashe CD, The Best of La Pashe 2014.


I'm playing (there's that P again) along with CD Sundays, where this fortnight's theme is "P is for...."  and congratulating myself on steering away from Christmas and not making my P stand for penguin, pole, polar bear, presents, pillar box or poinsettia (all of which went through my mind to start with).

Vintage Couture

Today I've been playing with a stamp I come back to time and time again, I bought it from Dimension 4th a few years ago and love the vintage fashion styling on it. I love looking at the prices too - for those of you in the UK too young to remember pre-decimal currency, that dress at 7/6 is 37½p in today's money!

The papers I've used with it are scraps - some of them VERY tiny - left over from a booklet of vintage papers that came free with a magazine some time ago. I've stamped the image onto some of the papers and cut out the garments, to paper-piece them onto the main image.

The background is a larger scrap, cut with pinking shears and stamped with a faux stitching border.  Being such a long, thin, stamp, it's gone quite wonky and refuses to sit straight on the acrylic block - but do you know, I think I prefer it that way! It gives an "aged" look that works well on vintage style cards.
 

The close up shows the "fabric effect" of the paper prints. Pretty realistic, isn't it?

Having said that I'd probably not get chance to join in, I'm eating my words and playing along in the Snippets Playground and I'm also joining in with Anything Goes with a twist - Make it Vintage at Susie Bee's Bloomin' Challenge 

Saturday 15 November 2014

Tropical sunset

It's coming up to my brother-in-law's birthday,  and although I make a lot of male-oriented cards, I always find him difficult to make for, as he's not keen on any of the "traditional" male hobbies. His main hobby is going on holiday, usually to tropical places, the hotter the better. So I decided to make him a tropical sunset scene.

I die cut an oval in scrap card and used it to mask off  all but the centre of a white card, then sponged inks of various ocean and sunset colours through the aperture dragging them horizontally to give that "striated" effect you so often see at sunset. (Tip - to position the aperture, place the oval you have die cut in the place where you would like your design to be, then put the waste back in place over it as if trying to reassemble the original piece of card. Lift out the die cut and your aperture is perfectly positioned. )

I used a stamp positioner to place the palm trees, so they didn't end up floating in mid air or lying underwater, then stamped with black ink and embossed with clear. Finally I stamped a greeting - using the stamp positioner again. I think it's indispensable when making CAS cards!

I'd already lifted out everything ready to make this card when I looked  in on Less is More this morning and saw that the latest challenge is "More than one tree" - there's serendipity for you!

Thursday 13 November 2014

A Hexagon Box

Today I decided to make a hexagonal box, using papers from a Colorbok pad that's been sitting in my stash for years. I used my Hougie board for the scoring and measuring, following the instructions in "Everyone needs a Hougie book 3"

The measurements I used were taken straight from the book, so I'm not going to infringe the lovely Kay Rutter's copyright by giving them here, but I took a series of photos as I went along.....


The clever "swivel and score" trick  means that even diagonal lines are precisely placed -


Is it just me, or does everybody sing "Never smile at a Crop-a-dile" every time they use it?


Before assembling the box, I lightly sanded all the folded edges to give a distressed look.


It is EXTREMELY important to have the correct equipment to weight down the folded base while the adhesive on the circle (see above) dries........ if you do not possess such equipment, I recommend you purchase some immediately.

 
I cut panels from another sheet taken from the pad, and edged them lightly with Antique Linen distress ink, then attached them to the sides of the box. I finished the panels with die cuts and stickers that came with the pad, and threaded ribbon and yarn through the holes to close the box.


The finished box is shown above. I chose to fold it so that the punched flaps poked outwards - if I had chosen to make an "inny" version, the top would have looked like this:
 
 
Phew! Are you still with me? I'll be filling this little box with sweets to give as a Christmas present, but until them I'm sharing it at

Craft Room Challenge - something 3-dimensional
Crafting Musketeers - Not a Card
Unstampabelles - Box it Up
White Lily Green - Homemade Thursday


Homemade Thursday

Wednesday 12 November 2014

A Winter Owl from The Best of La Pashe 2014

If you visit my blog regularly, you'll already know that I am a massive fan of La Pashe products and feel very privileged to belong to the design team, and that my all-time favourite craft CD is The Best of La Pashe 2012. Well, recently I've been teasing you with hints about the latest CD from La Pashe, The Best of La Pashe 2014  and I am delighted to be able to tell you that it is now available.

It costs £24.99 and can be bought from the La Pashe website. There are over 150 unique ready-to-print A4 decoupage sheets, including the following ranges...The Grumps, Sports & Hobbies, Kids & Teens, Precious Moments, McDecoupage, Christmas, Vintage Men's Decoupage & much, much more! And if that's not enough, there are also more than 200 co-ordinating backgrounds, as well as lots of Christmas Toppers.

There is decoupage to suit all skill levels, and the decoupage designs are ones that look great used just as a single layer topper too, so there really is something for everybody.

For this card, I've used one of the Christmas Decoupage sheets and one of the Christmas backgrounds, putting them together into my first ever centre stepper card. It always surprises me what great effects you can achieve with a scoring board and a little careful measuring! The icicles and snow are made with glitter glue, but instead of adding it to the image, I put the bottom layer, before adding the decoupage, under a sheet of clear plastic and traced the shapes with the glue, then left it to dry and peeled it off before sticking to the finished design. It seems to add more texture to the card that way.


Because the base card is dark blue, I've added a white panel to the back of the card, matted with silver. After all, there's no point in sending somebody a lovingly hand made card and not having anywhere to tell them who sent it!


Meet the Buttonfly

Buttonfly? Well, it's like a butterfly, only with added buttons (makes me think of the bread-and-butterfly out of Through the Looking Glass).

The current challenge at Butterfly Challenge is to use three patterned papers with a butterfly. I had a rummage through my bits box and came up with three small pieces of pretty paper left over from a recent make for CD Sundays - they came from a Create & craft Club freebie CD. I couldn't think how to use them though, so Pinterest came to the rescue - I put "card sketches" into the search box and loads of great ideas came up - so many that I started a sketches board of my own. Which means I have no excuse for running out of ideas any time soon!

This card is based on one of the sketches I found. I've embossed the larger white panel with a Crafters Companion folder, and  stamped and embossed the greeting on the smaller one. The butterfly is cut with a rather old die, from the days before pokey holes for removing the diecut were invented. So I tried the cutting-with-waxed-paper trick that I've been meaning to try for years, and the butterfly just popped out beautifully. Definitely something that will become standard procedure!

I added the buttons  simply because the nonsense word "buttonfly" popped into my head and wouldn't let go, otherwise I was planning to use pink pearls to decorate the body!


Because all the patterned papers were from my bits box, I'm also popping over to play at the Snippets Playground.

Tuesday 11 November 2014

A Thank You card for Cardz 4 Guyz

Today is Armistice Day, when people all over the world remember, and are thankful for, those who have lost their lives defending their countries in times of war. Did you get to see the poppies around the Tower of London? I saw them a few weeks ago, when I had a quite amazing bird's eye view from the viewing gallery at the top of The Shard.


Meanwhile, in the USA, it's almost Thanksgiving, and time for a huge turkey dinner!

So one way or another, lots of us have things to be thankful for at this time of year, and this week's challenge at Cardz 4 Guyz reflects that - the theme is "Thanksgiving/Thankful" and of course we want the card to be suitable for a male.

I used a super selection of masculine papers and toppers that were the freebie in the April 2014 issue of Making Cards magazine to make a Thank You card with a very masculine feel. Usually when I make a gatefold card and decorate the inside panel, I add a rectangle of plain card to give somewhere to write when sending it, but this moustache-printed paper was part of the  set. I thought it was pale enough to still be able to write legibly on,  and I simply had to use it - after all, this month is Mo-vember!

Why not pop over to Cardz 4 Guys and see what the rest of the DT have come up with, and share your own card with us?


I'm joining in with
Ooh La La challenge #169 - More than one fold
Suzy Bee's Blooming Challenge - Make it Male